
Introduction
Imagine our planet is in crisis — and you have the solution. You’ve done the research, and you know it works. But there’s a problem: beyond your research team, no one gets your solution. To have an impact you need to communicate it so that policymakers, stakeholders and the public can understand it and act.
A well-designed website is one of the most powerful tools to share your project with the world. It translates complex research into simple information and builds trust with funders, partners and the public.
I’m a designer and web developer with over 7 years of experience and more than 50 websites completed, including 20+ EU-funded project websites in the last 3 years. In this guide I’ll show you how to build a project website that is clear, engaging and ranks well on Google — so your solution gets the visibility it deserves.
Why building an Effective Website is Crucial for Your Project’s Communication Success
Here are three main reasons for building a website for your project:
- People will search for your project online
When people discover your project name, their first instinct is often to search for it on Google — there are 8.5 billion searches per day and over 50 billion web pages online (source: Musemind Agency).
- Websites can translate complex research into accessible information.
A well-designed website can translate complex research into clear, accessible information by organizing it into pages and sections, and telling your story through visuals, videos, and other engaging content.
- It’s cost-effective and scalable.
Building a website for your project is cost-effective. If you build it yourself, you only need to pay for a domain name (around €6–15 per year — for example, Hostinger offers domains starting at €6.79) and a hosting plan and the cost for a page builder like Divi (89 for 1 year and 289 for life time).
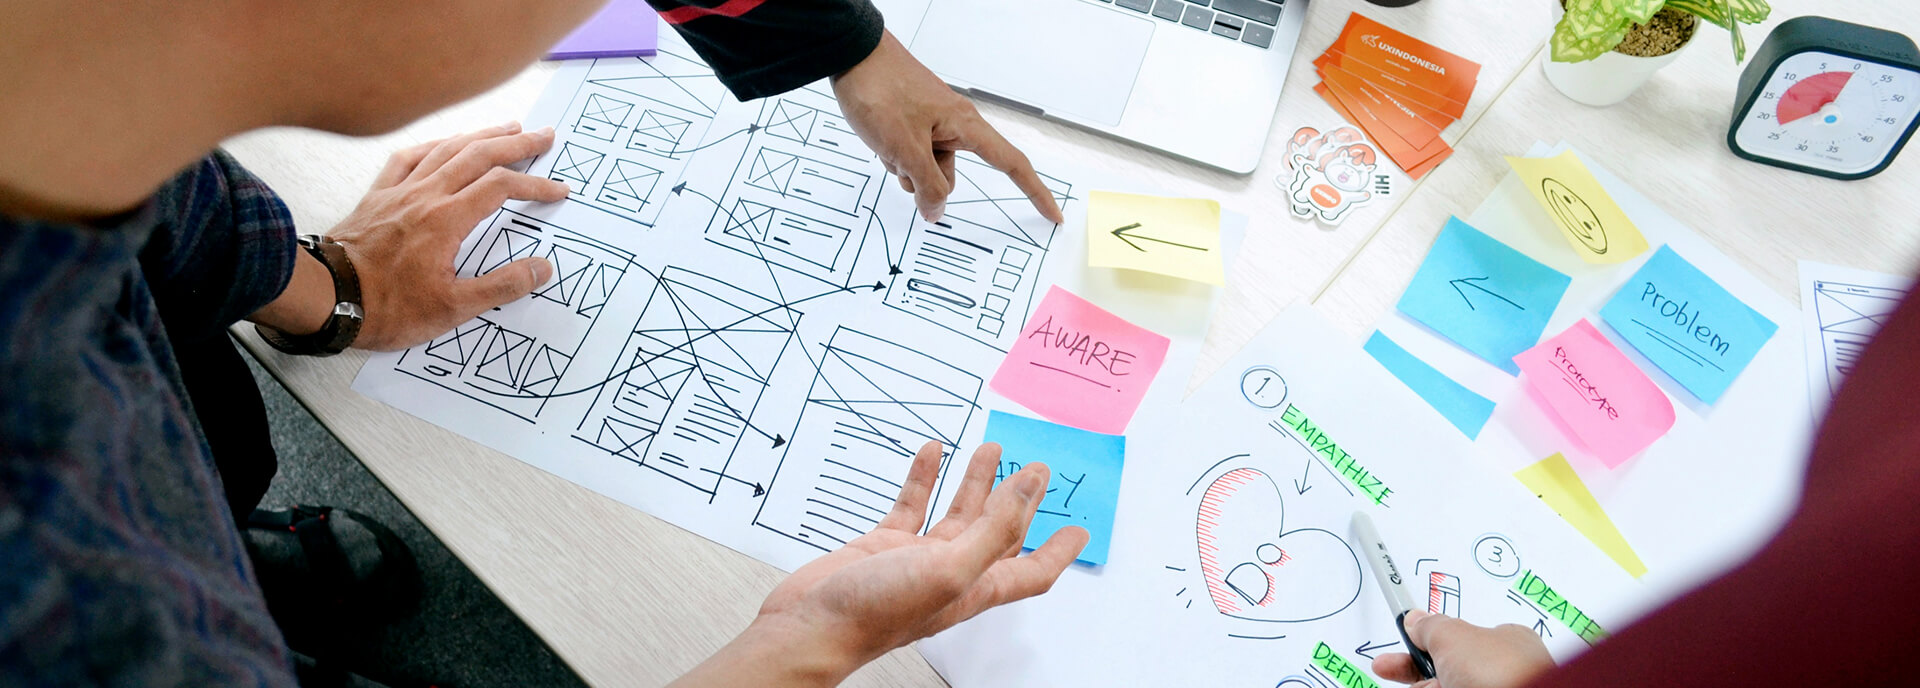
Step 1: Start with the right questions
As a professional designer and web developer, I follow this simple process for every website project:
- Client brief: I send the client a detailed brief with specific questions about the project. This helps me quickly understand their goals and requirements.
- Creative research: I research inspiration, industry standards, and similar project websites.
- Design: I plan the website’s structure and appearance using Figma, focusing on how it looks and feels.
- Development: I build the final website in WordPress.
You can follow a similar process on your own:
- What is the main objective of your website?
- What are the key pieces of information about the project you want to share?
- What action do you want visitors to take when they land on your website?
- How will you organize the navigation so that it’s intuitive and visitors can easily find what they need?
Pro tips:
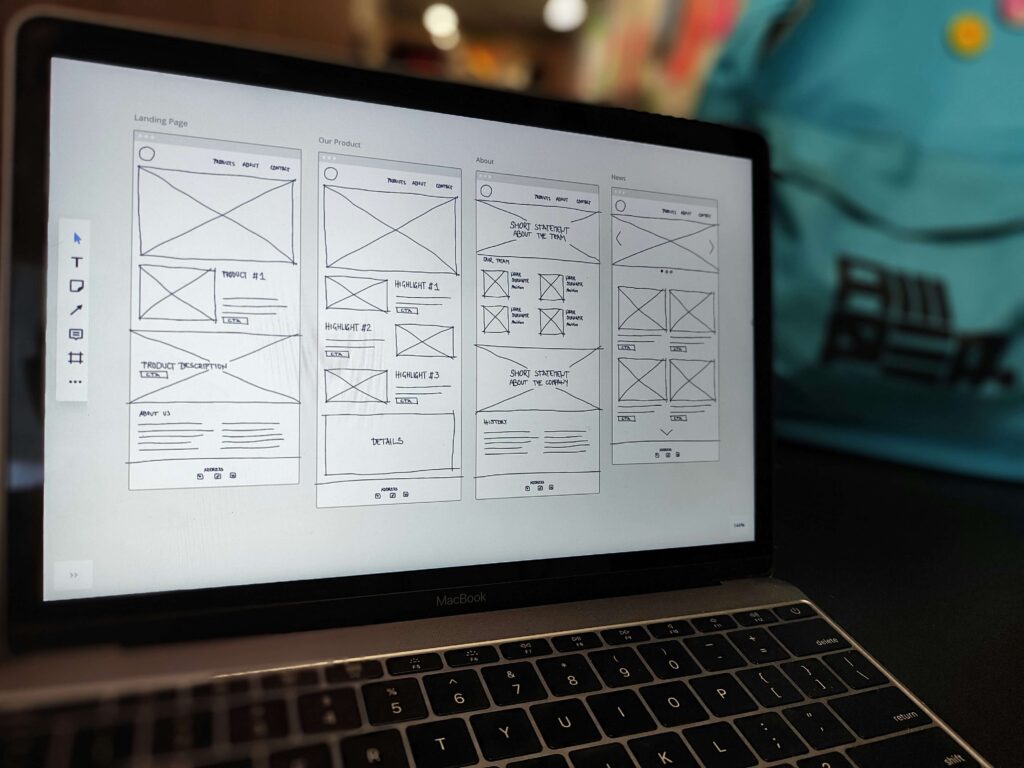
- Start with a paper sketch of your website layout.
- Your homepage is the most important page — make sure it’s clear, well-structured, and optimized. The first section (“hero section”) should create a strong first impression (e.g., an impactful image or statement).
Step 2: Design (how it feels and how it works)
Answering the questions in Step 1 will help you define the essential parts of your website’s design and structure.
Focus on writing clear website text: avoid jargon, and remember that on the web, less is more.
If your project has a graphic charter, use it as a guide for your design elements (colors, typography, imagery, logo, etc.).
If not, choose a simple color palette (maximum 3 colors) and 1–2 fonts that are easy to read on all devices.
Once you have these elements, use a design tool — Figma is the industry standard, but Canva or Photoshop can also work — to create your page layouts.
- Use a simple section layout: text on the left, image on the right.
- Align text to the left; avoid full justification as it can look awkward on different screens.
- Keep spacing consistent between sections to create a clean, professional look.
Pro tips:
This approach will help you design a website that looks credible and communicates your project effectively.
Step 3: Development
At this stage, I follow a proven process as a professional web developer to build and launch the website safely and efficiently.
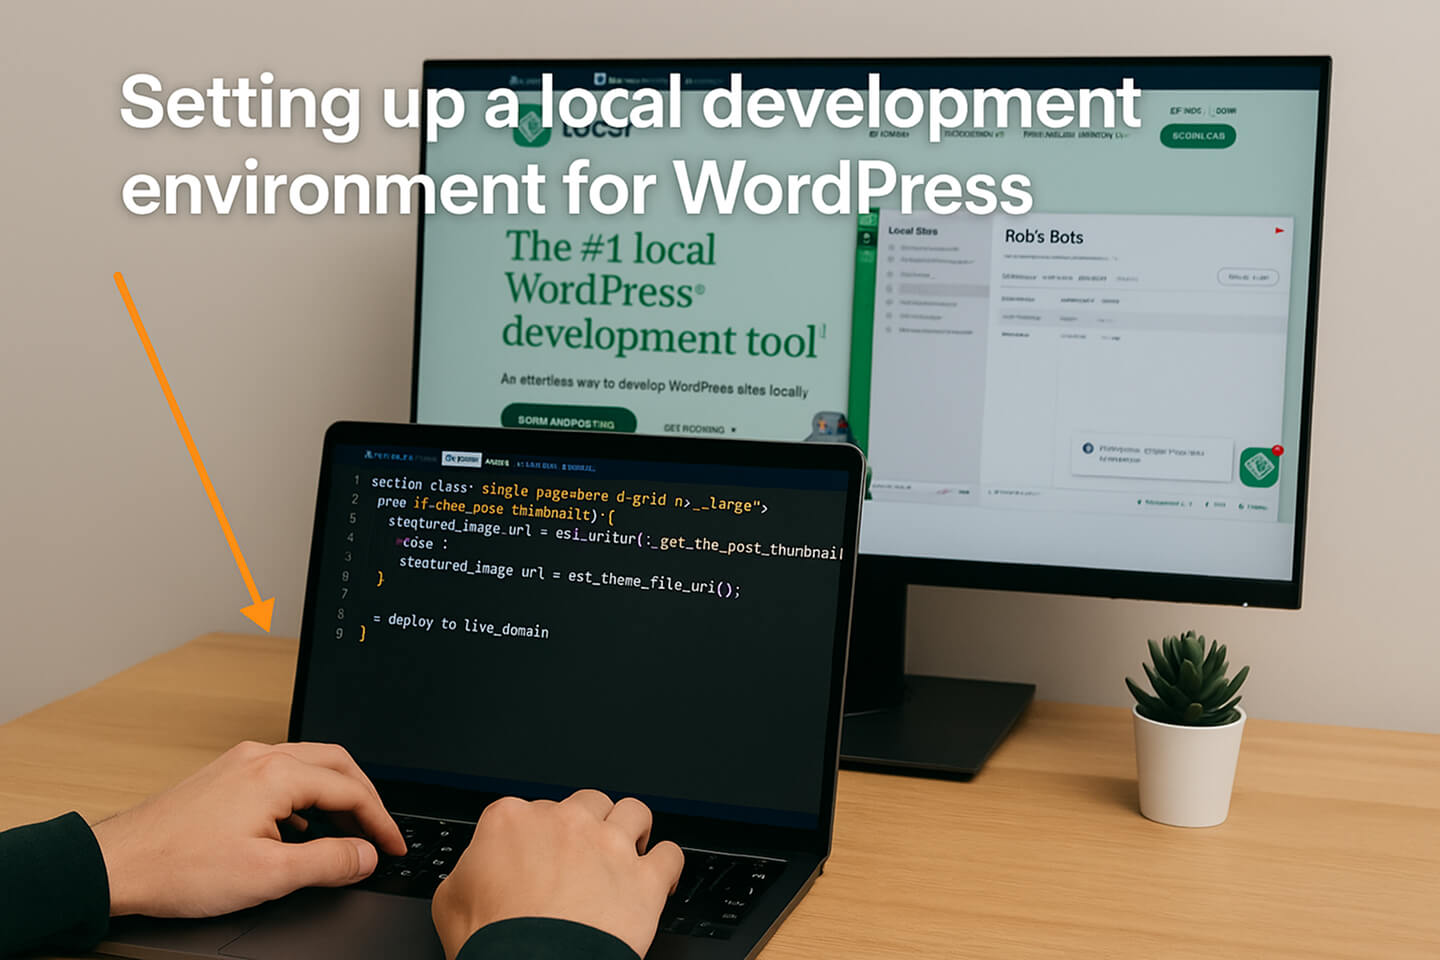
- Develop locally:
I develop the website on my local computer, integrating the mockup I designed earlier. This allows me to test everything thoroughly without affecting the live site. - Deploy to the live domain:
Once the local version is complete and fully tested, I migrate it to the project’s domain. This approach minimizes risks and ensures a smooth launch.
This method is simple, reliable, and helps prevent issues when going live.
Since this step can be quite technical, I’ve included both a video and an image-based step-by-step guide to make it easy to follow. [Click here to view the image tutorial.]